manual
This program generates maps based on a seed value. This allows you to save the map settings and modify them at later time. The demo version restricts number of possible seeds to 101. Full version gives practically unlimited number of possible seed values (over 16 million). Program calculates new map after each change of seed value. You can change the accuracy of calculated map, by changing the number of repetitions. Default values (close to 500) should be enough for most situations. You can see base black and white map generated after a change of the seed value or repetitions value by pressing the Seed button.

Seed value is also a base for following maps: cloud map, river map, shadow map, and bump map.
Following you will find examples of maps based on different repetitions value.


Most of the sliders used to set the runtime parameters of the program is interactive, meaning you can use the slider to change value, and it changes in realtime.
After generating the seed value, press Color button to see full-color map. Use the Water slider to change the percentage of water and land mass on the map.
Maps are generated and saved using resolution set on the Resolution tab. You can choose the following resolutions:
- 800 x 400
- 1200 x 600
- 1600 x 800
- 2000 x 1000
- 3000 x 1500
- 4000 x 2000
- 6000 x 3000
When using high resolution, it's good to set the repetitions value high. Maps shown on screen are scaled down to 800x400 resolution. If you want to see high resolution map, you need to calculate it, and save it. Following you will find different detail levels on maps generated in different resolutions.


Program allows you to freely set the color palette used during coloring of maps. Both palettes (for land mass and water) are changed in the same way. Gamma setting is the first parameter allowing for simple control of amount of mountains compared to lowlands and depressions. Lower settings gives you more lowlands and depressions, while higher settings gives you more mountains and shoals.
The palette is represented as a tonal gradient between different colors. On startup program reads standard palettes saved in default_waters.plt (for water palette) and default_lands.plt (for land mass palette). You can change position of any color within palette by moving its marker. You can add markers, delete them and change their colors. All those features are available in context menu (right mouse button). To change a color, hover your mouse pointer over its marker, press right mouse button, and select Change color from menu. Then set new color value using the default Windows color selector. To add or remove a marker you need to hover your mouse pointer over it, press right mouse button, and select Delete or Add accordingly. You cannot delete the leftmost and rightmost markers, and a new marker cannot be closer then 3 pixels to an existing one.

You can save modified palette at any time by selecting Save palette form this menu. You can also load a previously saved or a standard palette by selecting Load palette.
The color of the most shallow water is also used to generate rivers. The appearance of rivers is based on one parameter. The higher is this parameter's value, the more rivers will be generated. You can see the rivers mask by pressing the River mask button. Higher values of the Rivers parameter can seriously increase calculation time.
Another map is the clouds map. Clouds are based on three parameters:
- amount - the higher this value is, the less clouds are generated
- scatter - the higher this value is, the more translucent are the edges of clouds
- color - you can set the color using the Clouds color button
You can see the clouds mask by pressing Cloud mask button. You need to check Clouds checkmark if you want clouds to be included in final calculation.
Next separate map is the shadow map. This mask is used to lighten or darken mountain slopes, based on location of the sun. To set shadow mask you need to set two parameters:
- shadow value - the higher this parameter is, the more lighting or darkening there will be
- angle - this is the angle of the sun rays.
You can see the shadow map by pressing Shadow map button. You need to check Shadows checkmark if you want shadows to be included in final calculation.
Program will automatically generate bump map for generated map. You can see it by pressing the Bump map button.
If you want to see all the masks put together, you need to press the Render all button. This will calculate all checked elements, mix them, and generate map image with clouds, rivers, shadows, etc.
 mapa lądów |
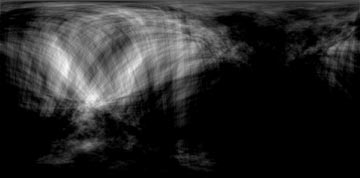 mapa wgnieceń |
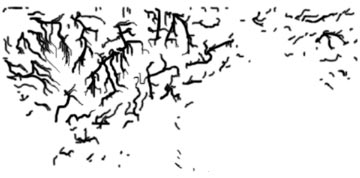 mapa rzek |
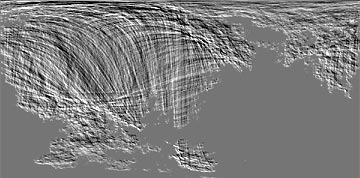 mapa cieni |
 mapa chmur |
 mapa kolorowa |
If you want more control over textures for 3d software, it is preferred to render all the elements (clouds, shadows, bumps, etc.) separately, save them, and put them back together in 3d software. Files generated by mixing all the maps together can be used directly in 3d software (without using any masks), but you have less control over the final result.
 self color map |
 + rivers |
 + shadow 3D |
 + speculatiry |
 + displacement map |
 + clouds |
The installed program includes files english.lng and polski.lng. Those files contain language settings of the program. Please contact me if you want to translate this program to any other language.
You can load or save a finished project using the main menu. Program saves all the settings, including the modified palettes. Only settings not saved are resolution and preferred language.
 polski
 english

